Showing posts with label do-it-yourself. Show all posts

Monday, August 26, 2013

Small Lightbox DIY

What a fun, functional, educational and perfect "toy" for kids! These lightboxes are so versatile and can be used to teach little ones endless subjects in a new and engaging way. I've seen lots of different  DIY lightbox tutorials online lately. I decided to take ideas from many different ones and make my own. You can make them any size you'd like, but these individual sized boxes are perfect for little hands and can be very easily stored. Plus it helps minimize the arguing and maximize the fun! :) 
 
What You'll Need (I found most of my supplies at the Dollar Tree!)
A clear plastic box with a lid
a push light with batteries
Foil
mod podge
white tissue paper (if the bottom of the box you buy is not already opaque)
Various see-through items to play with such as: craft stones, beads, clear colored page dividers, cups, xray printouts, etc.


I drew letters, numbers and shapes on the backs of these craft stones with a permanent marker.

We sorted in many different ways.
 
Directions:
 
Using mod podge, line the sides and inside of the lid with aluminum foil.
Line the bottom of the container with a single layer of white tissue paper if your box is not already opaque.
Turn on the pushlight and turn the box upside down so the light shines through the tissue paper and play in a dark room.

 
The fun is endless with the lightbox! I used the clear dividers to cut out letters and shapes. My sister has even printed out x-rays onto clear overheads. And a great part about this project is that you can store all the supplies in the box until your little ones are ready to play again!


Monday, November 12, 2012

Little Pintesters: Junk Match Busy Bag

 
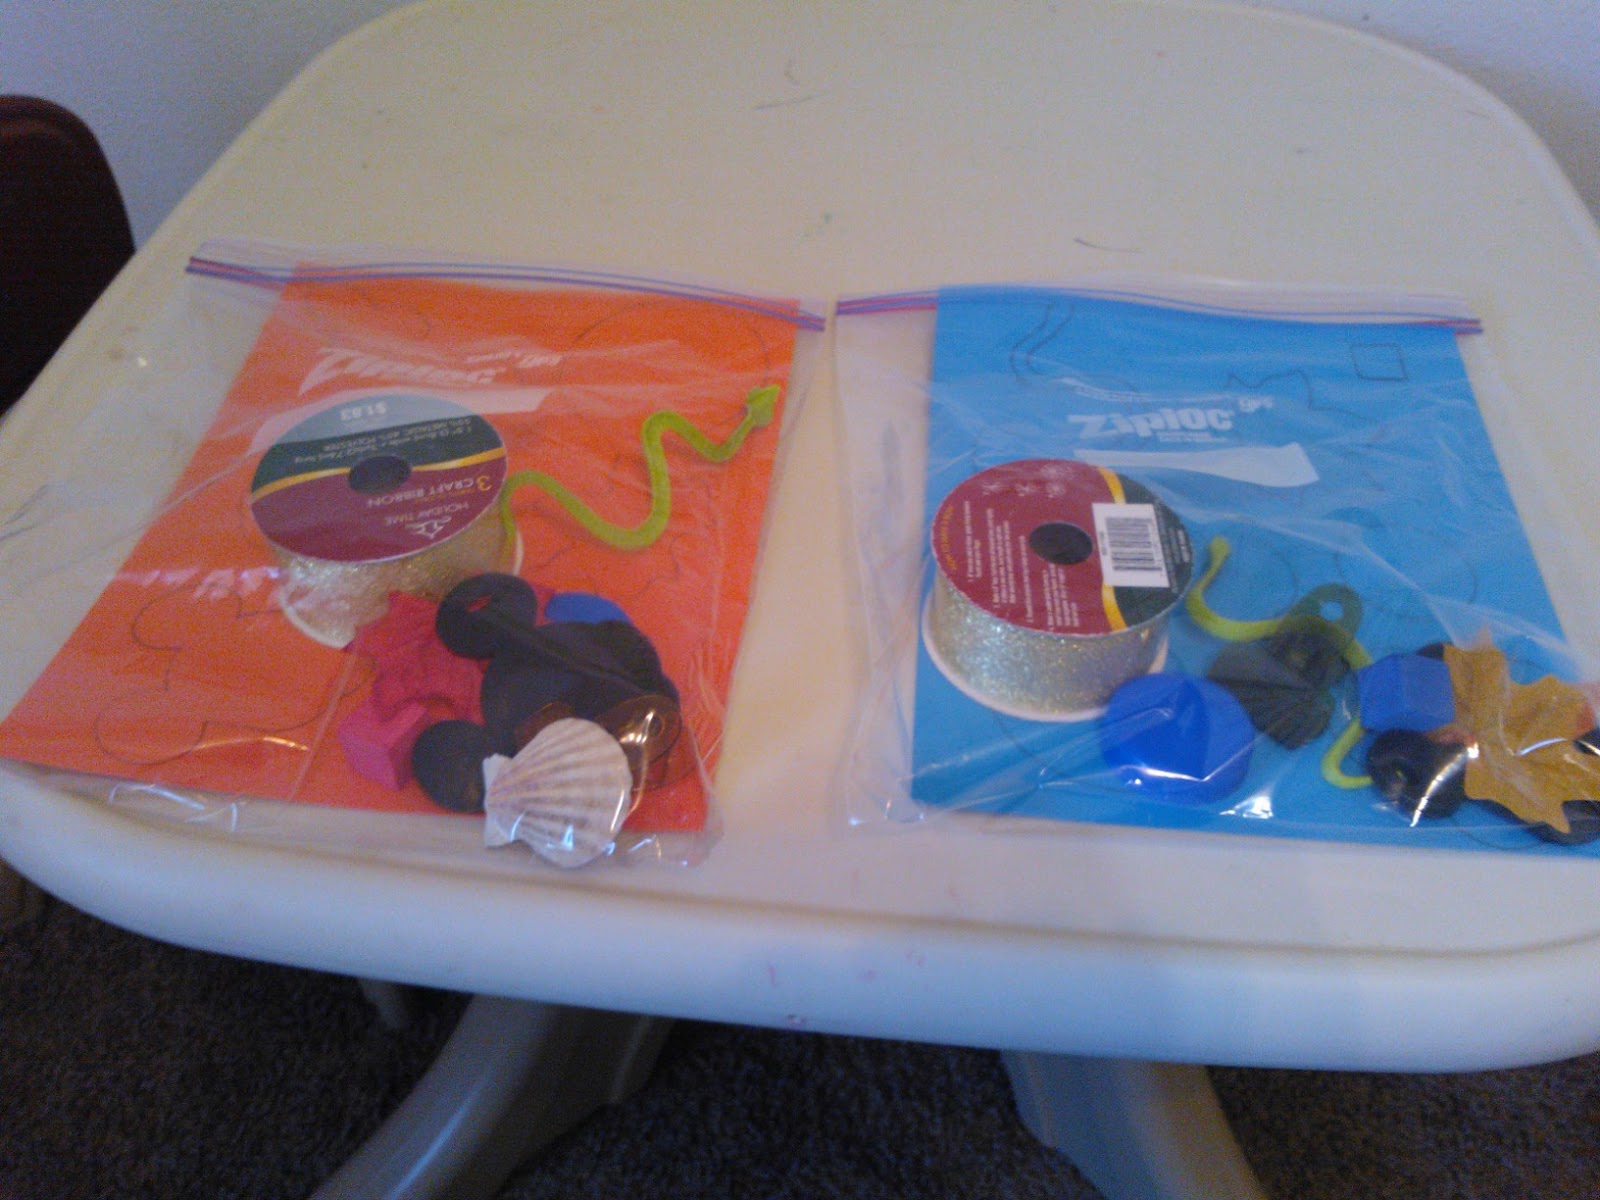
We love Pinterest! I recently pinned THIS activity and threw it together in less than five minutes with stuff I had lying around the house.

They're called Junk Match bags. You pretty much grab an assortment of small objects you have around your house, trace them on cardstock and put them all in a gallon ziploc bag. That's it! Easy! Then have your little ones match the object to its outline.

Outline all the random objects

Place them in a large ziploc bag. You may need to trim the cardstock a little bit to make it fit.
 
Let your kids have fun!

This is probably the easiest activity to put together!
TIP: The cardstock can be laminated to make it last longer.

We give it a BIG 10!

Here are some more ideas to make this activity even more fun and educational:
  • Make themed bags for holidays with small holiday objects from the Dollar Store
  • Make alphabet bags each with objects starting with a certain letter for practicing letter sounds
  • Bags can be themed around shapes or even color
Please let us know in the comments if you try this activity and if you come up with more fun ways to use it.
 

Wednesday, October 31, 2012

Little Pintesters: Toilet Paper Tube Fun!


Here are two activities you can make using empty toilet paper or paper towel tubes.

The first one is a fun game my boys absolutely loved. Found HERE. You take the tubes and cut them up into different sizes and you tape them onto a cookie sheet or tray. Then you take a small ball and the kids have fun tilting the tray and making the ball go through the "tunnels." To make it more complicated you can add more balls. FUN!
Our Score: 10

The second activity found HERE (This a great website if you're teaching your preschooler at home). You take six tubes and cover them with colored paper. Then you glue them onto a long piece of cardboard or cardstock and onto each other. I used a glue gun and it worked very well. You label each tube with its corresponding color. You can have your little ones sort all kinds of objects. We've used popsicle sticks, pompoms and beads so far.
Our Score: 10
 
The best part of these activies is that they cost little to nothing to make! 
 

Monday, October 15, 2012

Little Pintesters: Homemade Finger Paint

 Back for another Little Pintesters post where our little ones test out pins we find on Pinterest. 
This recipe was found here. 

Ingredients:
3 T. Sugar
1/2 t. salt
1/2 c. cornstarch
2 c. water
food coloring

Combine ingredients in a small sauce pan. Mix and warm until mixture reaches desired consistency. Let cool. Pour into containers. Add food coloring to make desired colors.

The verdict: this was easy to make. I like that you can adjust the consistency to make it thicker like finger paint, or less thick for painting with brushes. The blogger of the original post suggests doing so if desired. It came out pretty thick. Next time I'll add a little more water if they will be using sponge brushes. 

This activity actually really entertained both my four-year-old and my 1 and a half year old. They were entertained for almost 45 minutes. Which is a long time for them!! So much fun.

Score: 10 out of 10 !!

That's all for now! Let us know if you try this activity and if it's successful for you :)

Sunday, September 30, 2012

Little Pintesters: Bubble wands and Homemade Bubbles


My little Pintesters were eager to try out these homemade bubble wands and bubbles. The bubble wands are made using pipe cleaners and plastic beads. They were fun to use on a pinch, but they soaked up a lot of the bubble solution so it was a little wasteful. 

Bubble wand score: 8 
why not a ten? Because they soaked up more solution than necessary which made my Little Pintesters and I all wet. 

The bubble solution:
4 cups water
1 cup dish soap
1/4 cup corn syrup
container

Mix the ingredients together in a container to store in such as a gallon jug. Pour the bubble solution into a shallow dish and give your little cookie cutters, water bottles with the bottoms cut off, and bubble wands to explore with. 

Now for the review: This solution was fun to play with the water bottles and cookie cutters. It made big bubbles that would not float away so it was not as useful for the bubble wands. The most that would come out of the wands were about 5 bubbles. 

Bubble Solution score: 8
Why? Because it did entertain the little ones for a good 15-20 minutes, but I would've liked for us to be able to use the bubble wands and produce lots of "floaty" bubbles to play with. 

That's our review for now! Have a nice day!

Tuesday, September 25, 2012

DIY Angry Birds


If your little ones are anything like mine they would love this angry bird game. My 4 year old loved tumbling down structures with his new homemade toys. 

Materials:
balls
red material
rubber bands or string
sharpie

Wrap the balls in red material and secure with a rubber band or string at the top. Draw an angry bird face on the material. Now you're ready for action!! 

We used our building bricks from a previous post, and they worked perfectly for this angry bird game. The pigs can also be made a similar way. 

Sunday, September 9, 2012

Music and Movement Ribbons


Materials: shower curtain ring, ribbon and/or string. 

Tie the ribbons and string to your shower curtain and enjoy dancing to the rhythm. 

I saw something like this on Pinterest. I don't even know the website because I didn't even pin it, but there are many other people that have done something similar. Just so you know it wasn't my original idea:) We sure did have fun with it however!

Thursday, September 6, 2012

DIY Toy Building Bricks


Materials: Empty boxes (I used sturdy rice milk cartons), duct tape. 

1.Save clean sturdy boxes. 
2.Cover them with duct tape. 
3. Build!

Tuesday, August 21, 2012

Fly Swatter Game


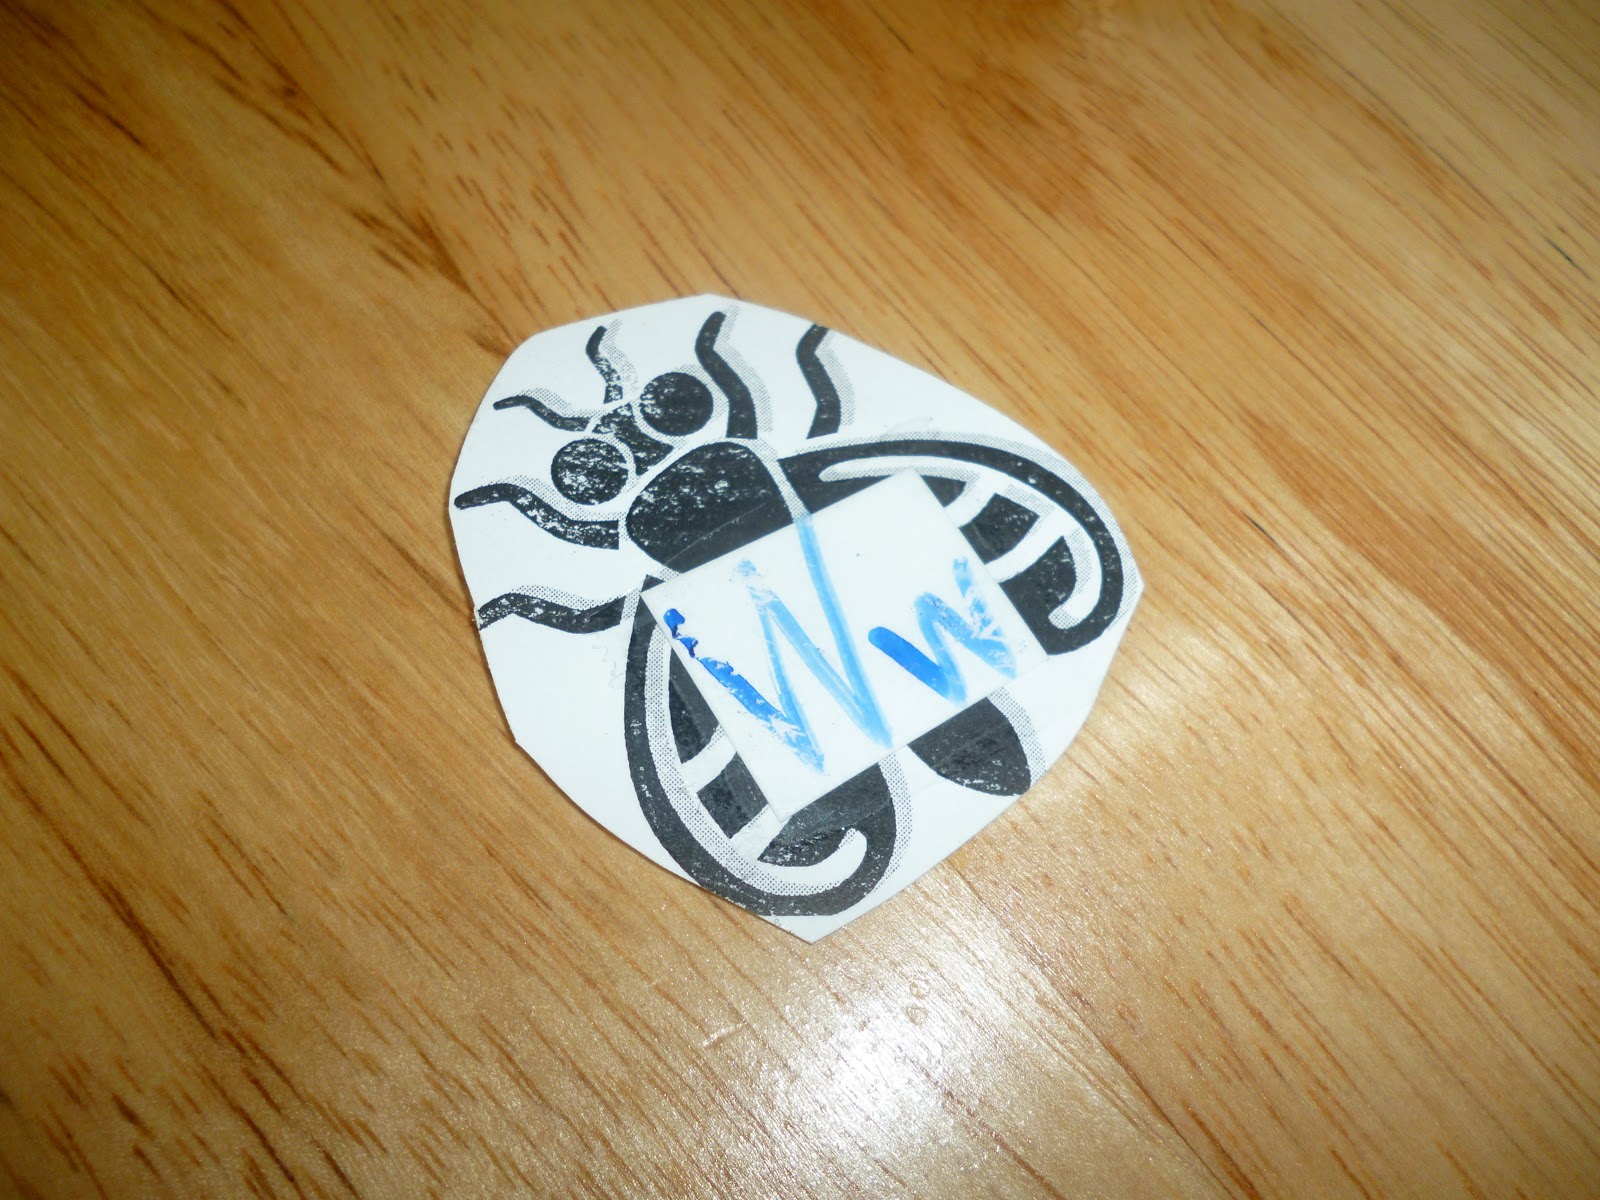
Materials: New fly swatter, paper flies (using word), contact paper, tape, or lamination. Dry Erase marker, sticky tack.

1. First I made a word document with 26 flies and printed it out.
2. Then I cut out small squares our of the same paper to put in the center of the fly with glue.
3. I then put a strip of clear tape over the fly and cut them out. You can also used contact paper or lamination to laminate them and to have a surface for writing with a dry erase marker. 

To play: Decide what topic you want to review, such as, letter, lower and upper case, shapes, numbers, letter sounds, sight words, etc. and write them on your flies. Stick them with sticky tack on your wall. You can certainly put magnets on them and put them on your fridge to play. Call out a letter and have your child swat it! 

Wednesday, August 15, 2012

Bean Bag Toss Game: Shapes

Materials:  a piece of fabric, a bean bag, bottle caps, a computer to make a grid with the four shapes. 

1. I painted the shapes on an scrap of fabric. 
2. I made a word document with four of each shape and printed it off.

To play: toss the bean bag on one of the shapes and put a bottle cap as a marker on the chart. You can play alone and try to get a certain row, column, or fill out the whole chart, or play with several people and work together. Or you could also have each person be a different row and try to get those shapes before the other person gets theirs. So many possibilities!

Tuesday, February 16, 2010

Bean Bag Toss

My son loves to throw things! I discovered he loves bean bags for that reason. I decided to make some simple bean bags out of old scraps of clothes and fabric I had. Then I set up a few baskets and containers for him to throw them into. If I get more ambitious maybe I'll eventually make him a bean bag toss board with holes to throw them into out of cardboard, a box, or wood.